Pre-installation Checklist
-
VMware ESXi 5.1 or later.
Important: Use VMware ESXi 6.5, you must have build 7388607 or later. Earlier builds have an issue with the OVF tools that will cause the sensor OVF deployment to fail.
If the OVF package is invalid and can't be deployed, and you get a SHA256 Error message, see The OVF Package Is Invalid and Cannot Be Deployed - SHA256 Error for more information.
- Four cores and 12 GB of memory dedicated to the VMware.
- 150 GB of disk space.
- A static IP address of the network interface used for Management, Log Collection, and Network Scanning.
- Internet connectivity to the network in which you will install the USM Anywhere Sensor.
- Network topology information available to run asset discovery.
- Port mirroring setup for network monitoring.
- Administrative credentials for authenticated asset scans.
- Administrative credentials for your devices (log forwarding).
- If you have a firewall, devices are configured to send UDP syslog.
- (Optional) Access to a span port to monitor network traffic for IDS.
VMware Sensor Deployment
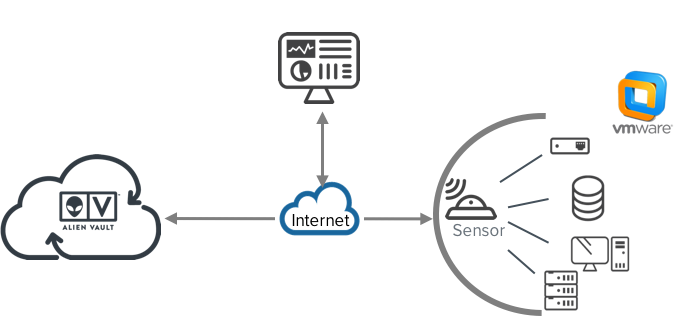
See VMware Sensor Deployment for detailed information about how to deploy a VMware Sensor. The main steps are outlined below:
1 Install Sensor
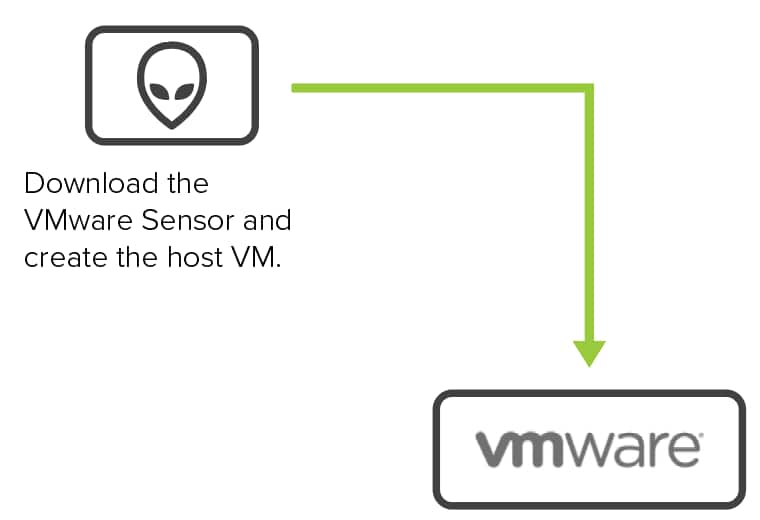
See Create the VMware Virtual Machine for more information.
2 Connect Sensor to USM Anywhere
After deploying the sensor, you must connect it to USM Anywhere through registration and configure the initial login credentials.
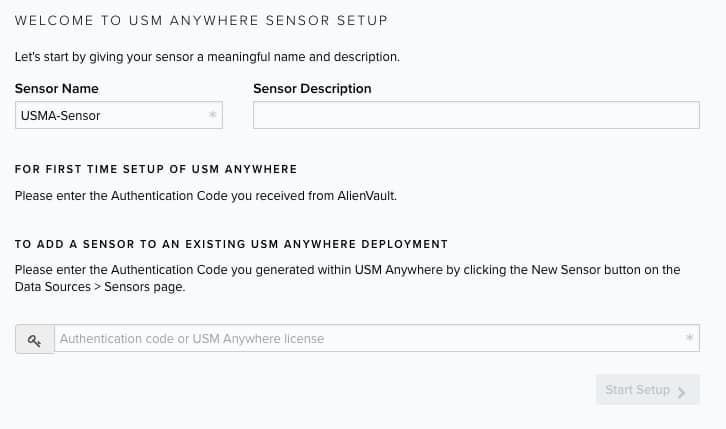
See Connect the VMware Sensor to USM Anywhere for more information.
3 Launch the Setup Wizard
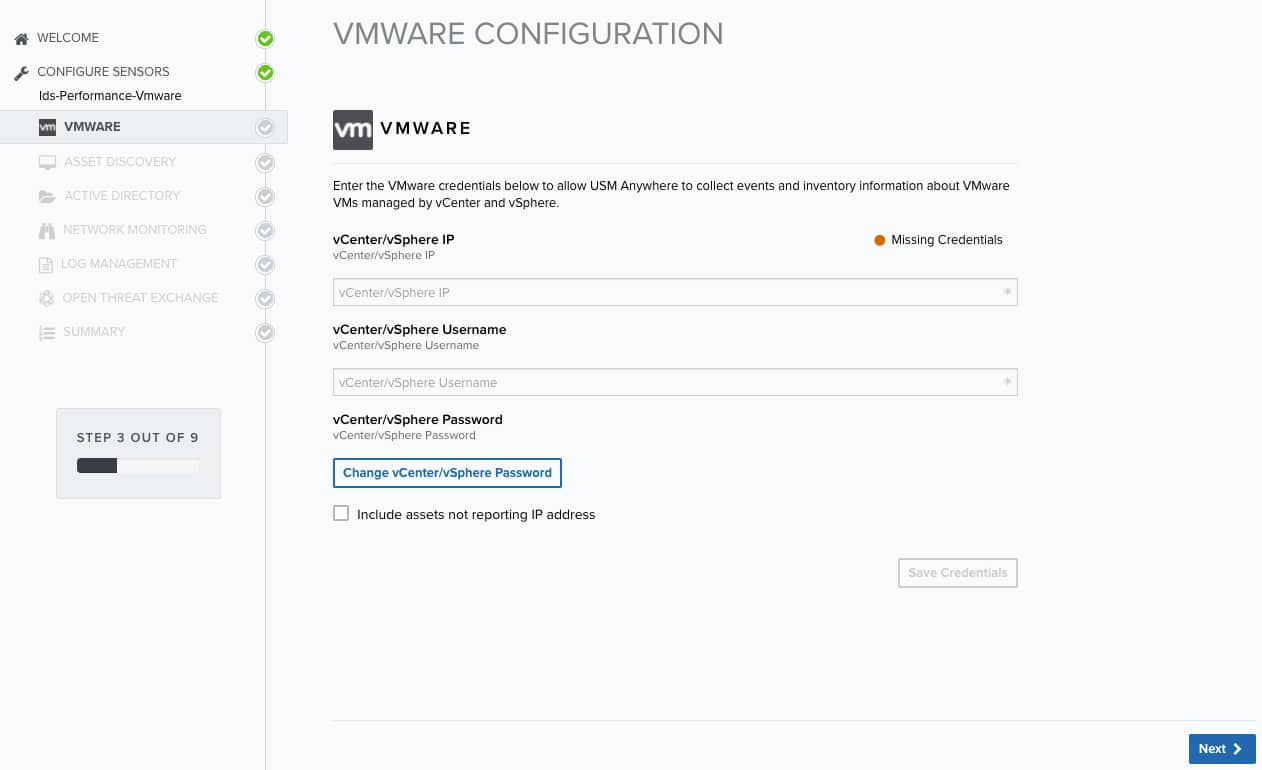
See Complete the VMware Sensor Setup for more information.
4 Start using USM Anywhere
See USM Anywhere User Guide for more information.
 Feedback